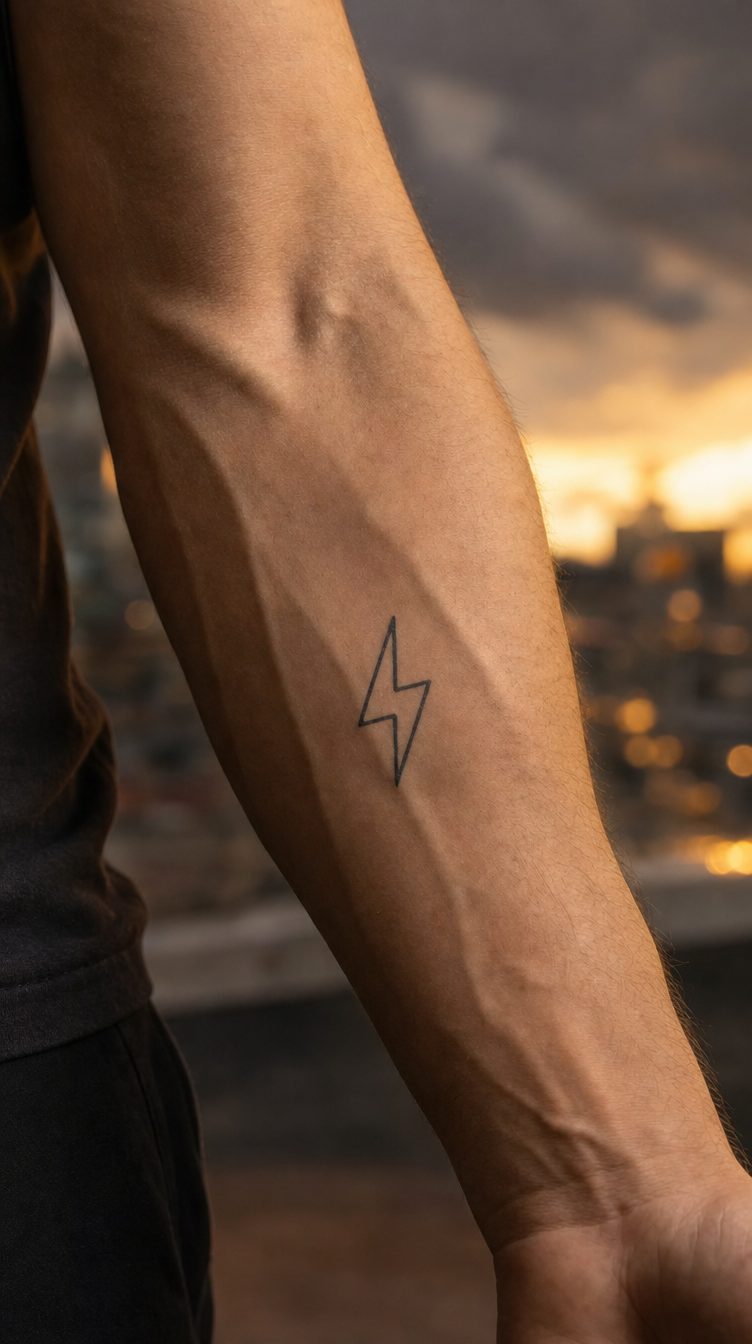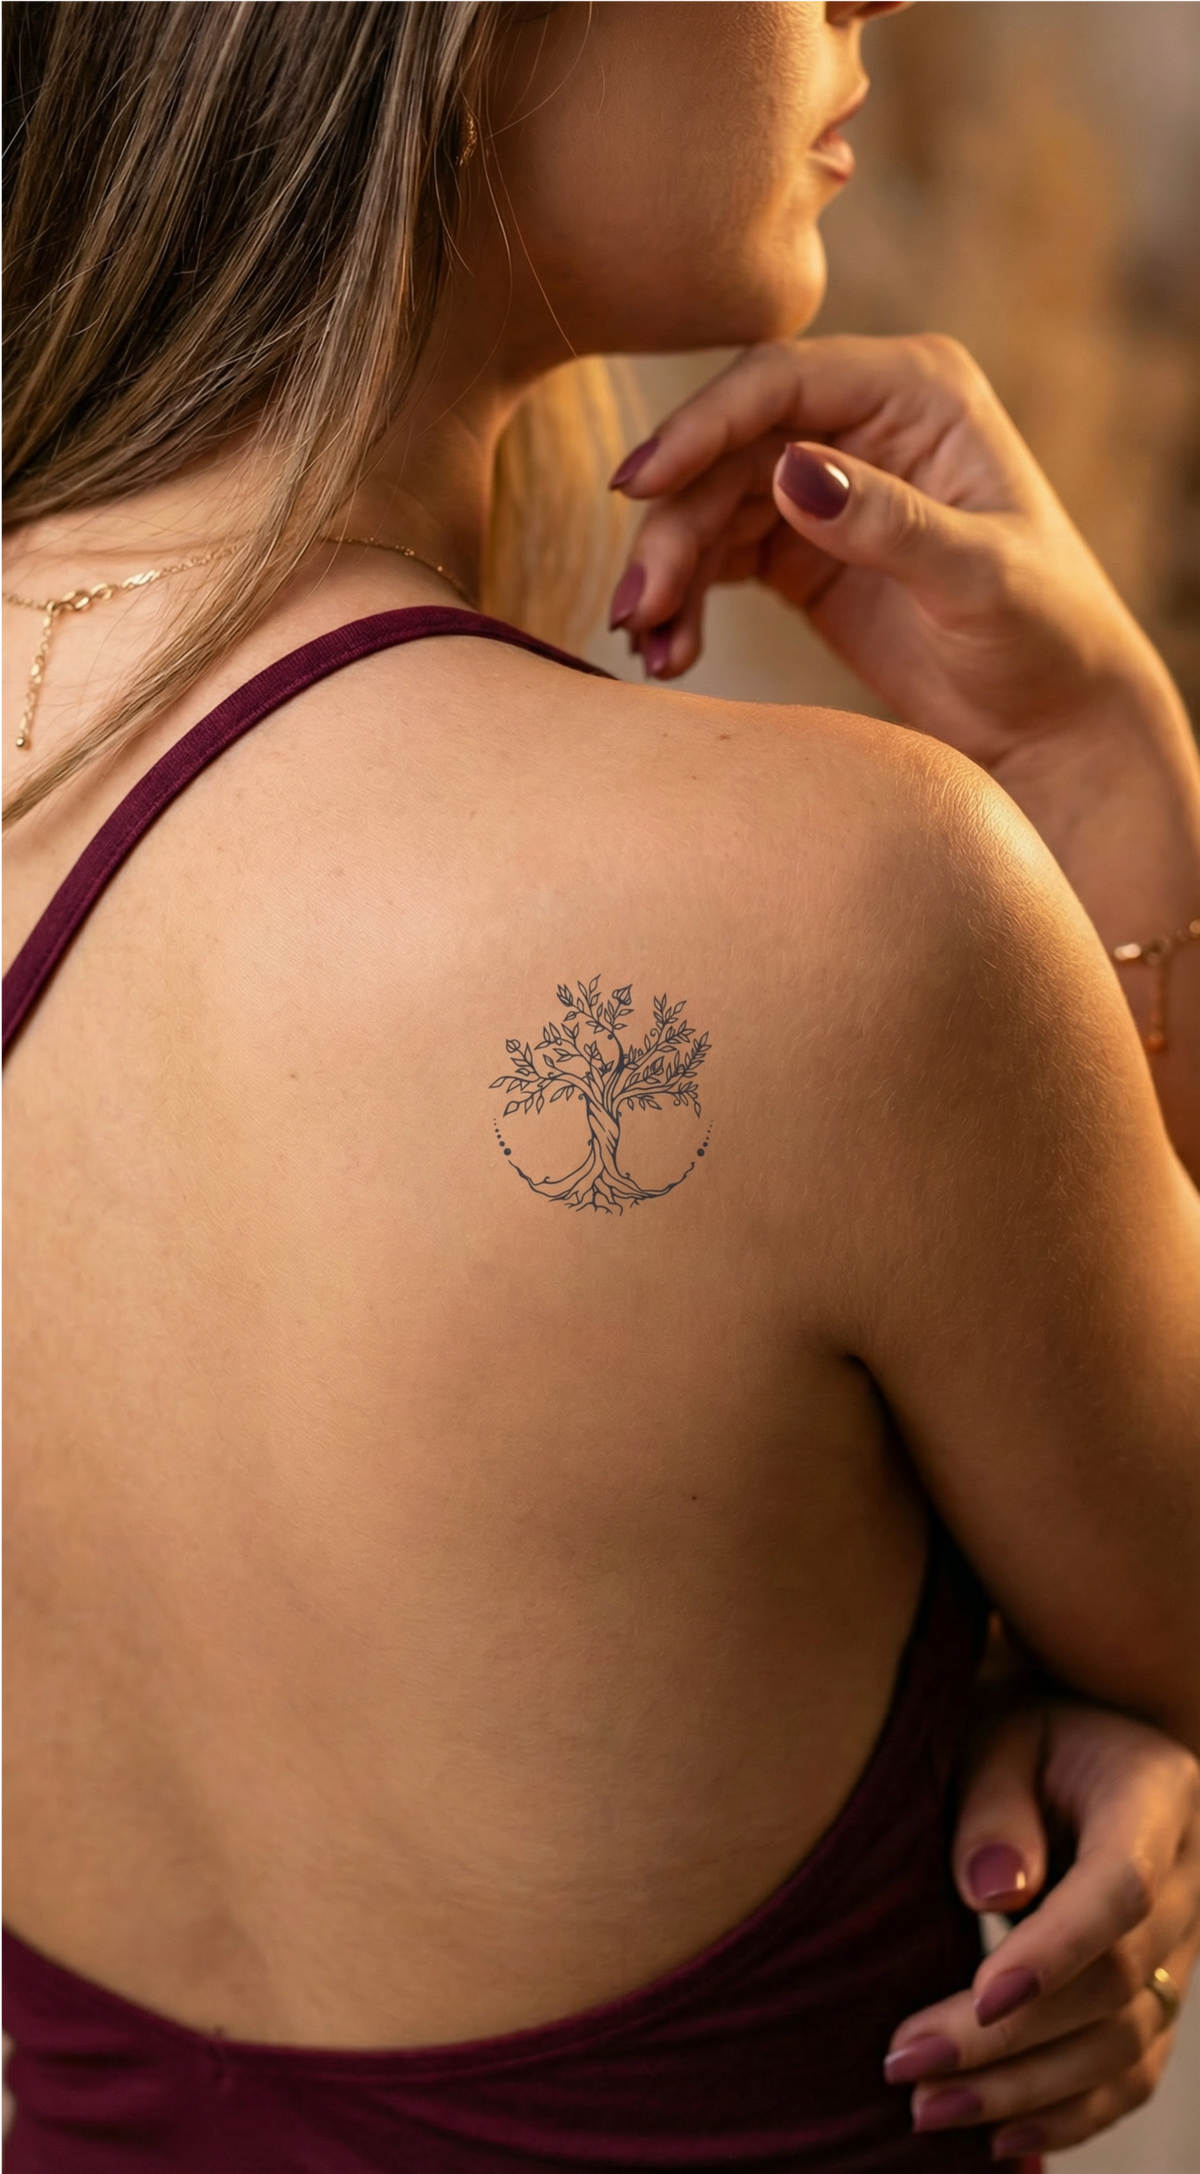

A hip tattoo is essentially a design placed on the curve between the hip bone and the upper thigh, an area you can show with a low-waisted dress or a swimsuit and easily conceal under everyday clothes. This flexibility is exactly what makes it a popular placement for a first tattoo: you can decide from one day to the next how visible you want it to be.
- The style follows the curve: floral designs, delicate snake-style designs and larger ornamental pieces adapt differently to the curve of the hip, depending on how much area you want the design to cover.
- Measure the size; don’t guess: the actual area between the hip and thigh varies from person to person, so the design’s dimensions should be compared with the area you have available, rather than chosen just by eye.
- How long it lasts depends on friction: an area that is in constant contact with underwear or a tight waistband can fade faster than an area without constant pressure.
- The test is about the design, not the permanent tattoo: a semi-permanent version shows you how the design looks on your curve and whether it stays visible under the clothes you actually wear, without predicting anything else about a permanent tattoo.
Why the hip is a popular area for a first tattoo
Control over visibility is the main reason the hip comes up so often when people choose their first tattoo. With a low-waisted dress, a short skirt or a swimsuit, the design is clearly visible; with regular jeans or a longer dress, it stays completely covered. This flexibility matters especially if you want to decide for yourself who sees the tattoo and who doesn’t, rather than have it visible whatever you wear.
In terms of shape, the curve between the hip bone and the thigh behaves differently from a flat area such as the forearm or back. Lines that follow the body’s natural contour, whether a floral branch or an elongated shape, tend to look more integrated than a design created for a flat surface and simply placed here. That’s why choosing the design matters just as much as deciding to place it in this exact area.
If you’re more interested in the thigh, calf or ankle than the point where it meets the hip, the guide to temporary leg tattoos covers those areas separately. Likewise, if you’re thinking more about the lower abdomen than the hip, the guide to stomach tattoos covers that placement point by point.
Designs that suit the curve of the hip
Three design directions naturally suit the shape of the hip: flowers, which naturally follow the curve toward the thigh; delicate snake-style designs, which can wrap horizontally around the curve without looking forced; and larger ornamental pieces, suited to the bigger area between the hip and thigh.
Floral designs
A floral branch or a bouquet placed diagonally naturally follows the line of the hip toward the thigh, because the design can be drawn directly along that curve rather than simply placed over it. The result looks intentional, not as if it has just been randomly placed on the area.
Snake designs
A delicate snake-style design works well horizontally along the curve of the hip precisely because the snake’s elongated shape can follow the body’s line without leaving empty spaces or creating awkward proportions. Sarpe Gratios, for example, measures 7 x 12 cm and has finely drawn details, making it a suitable size for an average-width area somewhere between the narrower hip bone and the broader area toward the thigh.

However, the manufacturer specifies that this design is not recommended on irritated skin, moles, scars or stretch marks, so it’s worth checking the condition of the area before applying it.
Larger ornamental pieces
A larger illustrative piece, with several elements brought together in a single composition, works well on the bigger area between the hip and thigh, where a small design would get lost visually. Spiritul Singuratic is an example of this category: a 12 x 22 cm illustrative composition featuring a wolf that symbolizes freedom, instinct and raw strength. Since it’s a large, vertical design, it can be positioned vertically from the hip bone toward the thigh, or at a slight angle following the body’s natural curve, making it suitable for anyone who wants a more striking piece rather than a discreet detail.

How to choose the right size for the hip-thigh area
The area between the hip and thigh doesn’t have a standard size: it varies from person to person and, on the same person, goes from a narrower, bony point to a broader area toward the thigh. That’s why the right method is to measure the exact area you want to cover and compare that measurement with the stated dimensions of the design, rather than choosing just by eye based on a photo.
A design that’s too small risks getting lost on the bigger area between the hip and thigh, especially if you choose a large ornamental piece designed to cover a lot of space. Conversely, a design that’s too large looks crowded if the area you’ve chosen is narrower, such as directly over the hip bone. The complete guide to choosing the right size explains step by step how to take this measurement for any area of the body, including curved surfaces like this one.
What affects how long the design lasts in this area
An InkLabs semi-permanent tattoo generally lasts up to 15 days, but how long it actually lasts depends on the area where you wear it and how exposed it is to friction or moisture. Right after application, the color is light, and the final, darker shade only appears after 24-36 hours, so it’s worth waiting for this period to pass before judging how the finished design looks on the curve of your hip.
The hip is an area that often comes into contact with underwear, belts or tight waistbands, and repeated friction at these points can fade the design faster than on an area without constant pressure, such as the forearm. Very hot water and vigorous washing shorten how long it lasts even further, especially in the first few hours after application, while the color is still setting. The article about how long semi-permanent tattoos last details all the factors that affect how long a design lasts, regardless of the area.
How to test a design before making it permanent
A semi-permanent version gives you time to see whether the size and placement you chose really look good on your curve, not just in the design’s product photo. You can wear the design for a few days and see how it looks with the underwear or swimsuit you actually wear, and whether it stays visible or hidden as you intended.
It’s important to remember that this test is strictly about the design, size and placement. It says nothing about how a permanent tattoo in the same area would heal, feel or look, because the two processes are completely different, and the result of one does not predict the other. The article about testing a design before making it permanent explains in more detail what you can and can’t assess with a temporary or semi-permanent version.
Before applying it, it’s worth checking the condition of the chosen area: for certain designs, the manufacturer recommends avoiding irritated skin, moles, scars or stretch marks, and taking a close look at the area saves you time and avoids an unnecessary application.
Once you’ve settled on a design direction and a size that realistically suits your area, the natural next step is to browse the tattoo collection for the leg and hip-thigh area, where you’ll find designs in several sizes that you can wear for a week or two before deciding on something permanent.