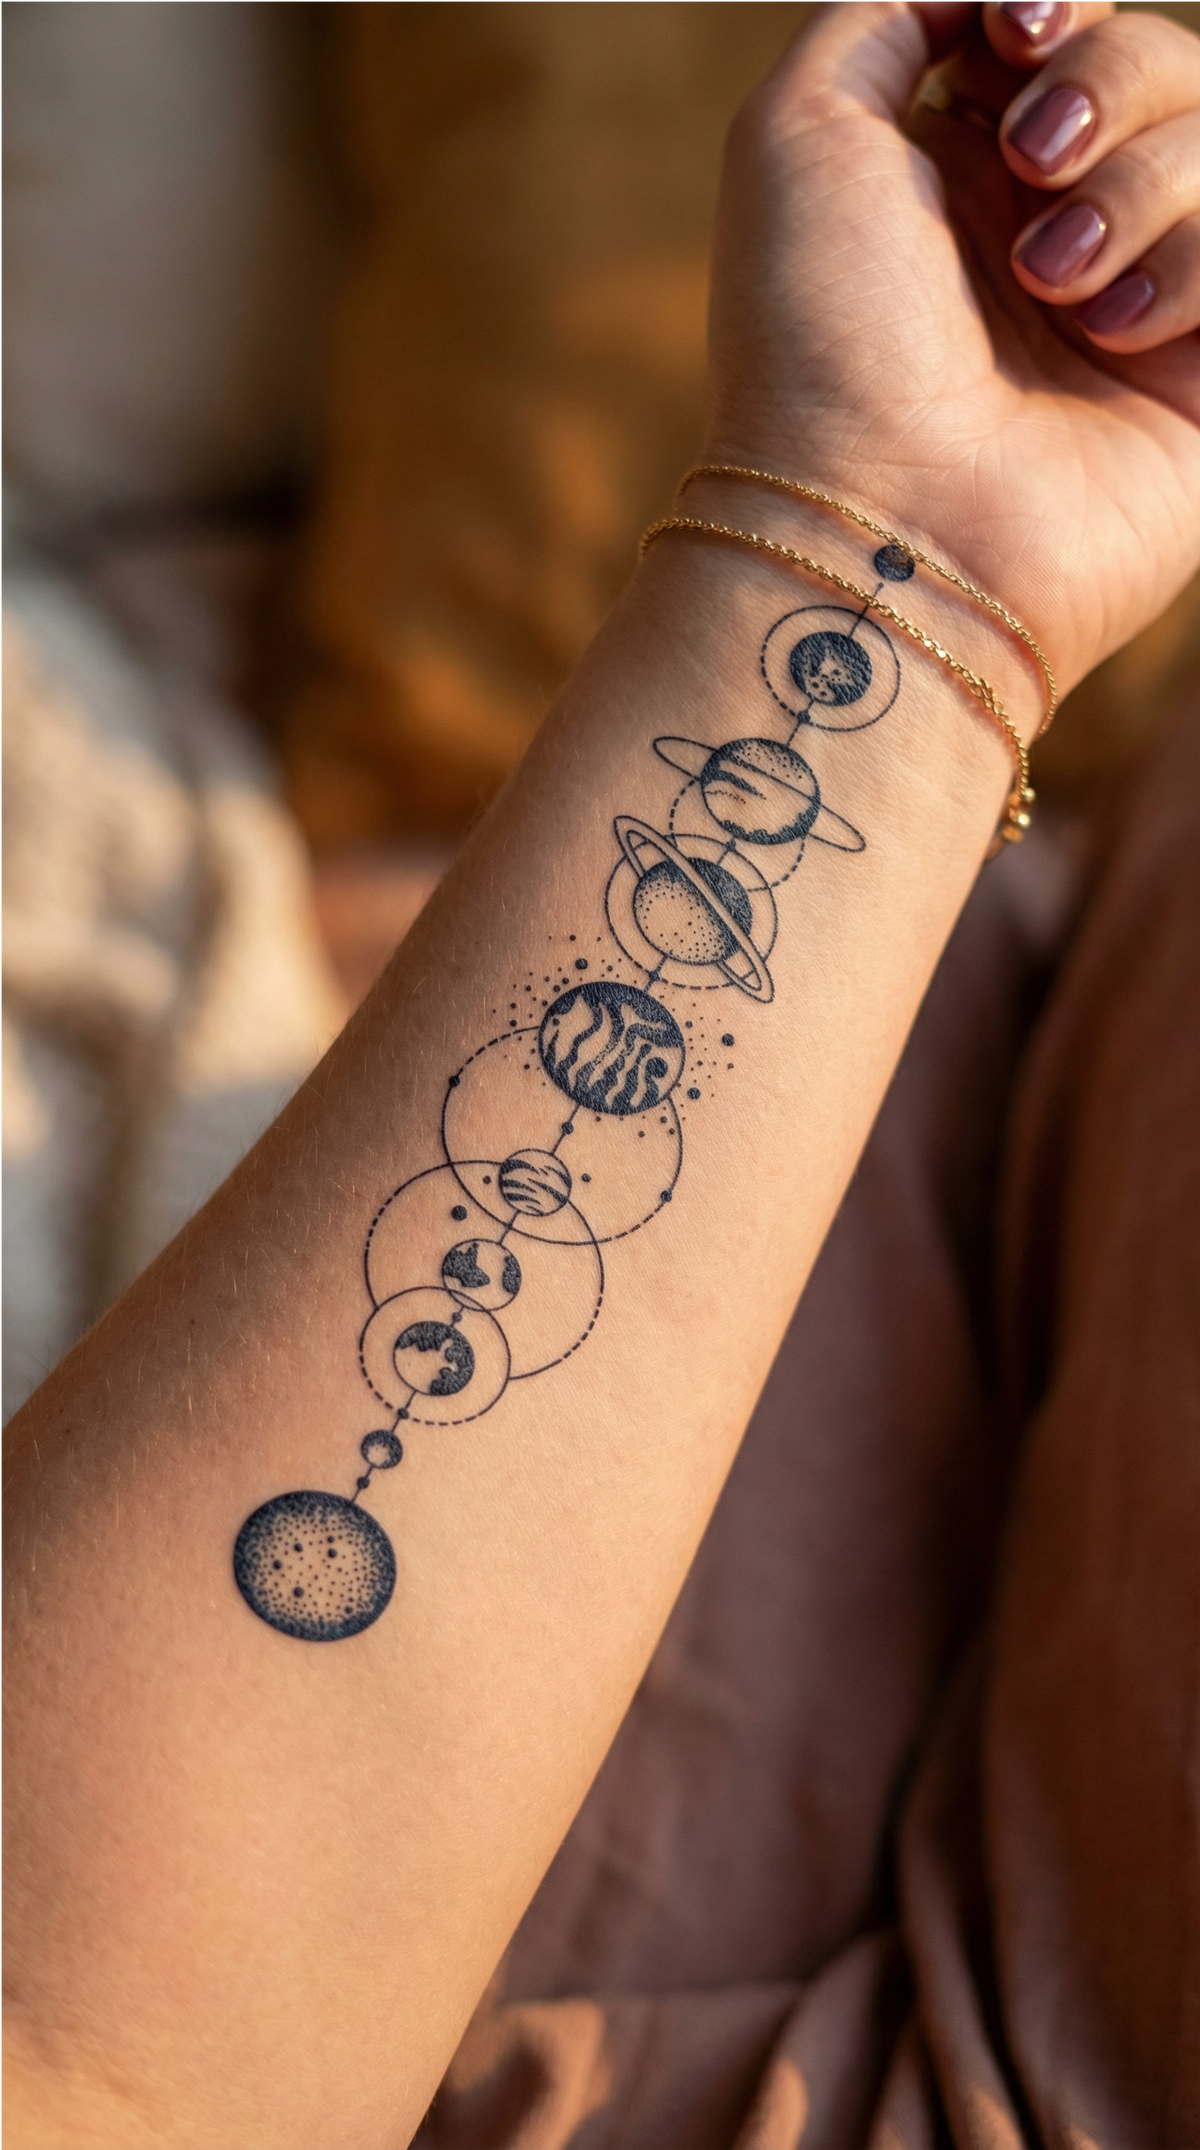

A skin-safe marker, a sheet of printable transfer paper or a stencil lets you draw a design at home in just a few minutes, but the three methods do not produce the same result: a marker fades quickly at the slightest friction, transfer paper faithfully reproduces a printed design for a few days, and a stencil is mainly used to trace a clean outline that you then fill in with a marker or skin-safe paste. These trials help you assess a design’s size and placement before moving on to a ready-to-apply tattoo; they do not let you anticipate pain, healing, the risk of an allergic reaction or the exact appearance of a permanent tattoo, which depend on the ink injected and each person’s skin.
Before looking at each method in detail, here are the key points:
- A marker trial is useful for quickly checking a design for the first time, but it rarely lasts more than a day once washed or rubbed.
- Transfer paper reproduces whatever has been printed or drawn on it and lasts a little longer than a marker alone.
- A stencil creates clean outlines, but the final result always depends on what you use to fill them in.
- Only markers and inks explicitly intended for contact with skin should be used—never an office marker or a regular permanent marker.
What a homemade temporary tattoo is really like
The three homemade methods share the same principle: reproducing a design superficially on the skin, without changing anything beneath the surface. That is exactly what makes them useful for testing an idea before committing, and what limits what they can show. A marker trial shows where a design sits on the body and what size suits it; it tells you nothing about the pain of a tattooing session, healing, a possible allergic reaction to injected ink, or the exact appearance the same design would have once tattooed deeper into the skin. Keeping this limitation in mind helps you avoid drawing the wrong conclusions from a simple skin test.
Drawing with a marker: quick but short-lived
A marker is the most straightforward method: draw freehand on the skin and see the result right away, making it a good way to quickly compare several placement ideas before choosing one. However, the lines are less even than those of a printed design, especially on an area that is difficult to reach by yourself, such as your back or shoulder blade. The design fades with washing and clothing friction, generally within a few hours to a day depending on how it is used; there is no universal duration, because it all depends on the area of the body and how often it is washed.
What type of marker should you choose?
Only markers designed for direct contact with skin are suitable for this use. An office marker, a regular permanent marker or a pen intended for paper may contain solvents or pigments that are not meant to remain in contact with the skin, so check the intended use on the packaging before drawing.
Temporary tattoo paper: how it works
Transfer paper works on the principle of decal transfer: a design is printed or drawn on the designated side, then cut as close to the design as possible to avoid a visible paper outline around the tattoo. The sheet is then placed design-side down on the skin, thoroughly wetted for about a minute, and the paper backing is slowly peeled away, leaving only the transferred ink. This decal-transfer principle has long been used for small tattoos sold in candy shops, and was later adapted into a version that can be printed at home (source: Wikipedia — Tattoo).
Marker or paper: how do the results differ?
A marker depends entirely on the movement of your hand, whereas paper faithfully reproduces what was printed or drawn beforehand, resulting in more even lines for a detailed design or text. On the other hand, paper remains a surface decal: you need to prepare the design in advance, and you cannot adjust it once applied as you can by going over a line with a marker.
The stencil: cleaner outlines
A stencil cuts out a precise outline to reproduce on the skin; it guides the drawing but does not apply any color by itself. It always needs to be used with a skin-safe marker or a paste of the same type as the one used for traditional temporary designs, applied inside or along the cut-out outline. This method is particularly useful for a geometric or symmetrical design, or one that you want to repeat several times in the same place, where it is harder to keep a freehand drawing even.
Comparing the results and wear of the three methods
In terms of speed, a marker is still the easiest method to try, but it also offers the least staying power and the least even lines. Transfer paper gives you a design that faithfully matches what was printed or drawn, and lasts a little longer, while remaining a surface decal that fades over time and with washing. A stencil creates clean outlines, but the final result still depends on the marker or paste used to fill it in, which means it has the same limitations in terms of staying power as the other two methods. For comparison, with an InkLabs semi-permanent tattoo, the ink starts out blue when applied and then darkens to blue/black over 24 hours, with the final shade varying depending on the skin (source: Inklabs — How it works)—an ink mechanism that penetrates the skin, with a wear period very different from that of a marker or paper, which remain on the surface.
Precautions to take before trying it on your skin
Before covering a large area, it is best to test the marker, paper or stencil on a small patch of skin and wait to see how it reacts. If redness, itching or discomfort appears, the simplest thing to do is stop the trial and wash the area with water. Using only markers, inks or pastes explicitly intended for contact with skin reduces this risk, since products intended for paper or conventional drawing are not subject to the same controls. It is also best to let a previous trial disappear completely before doing another one in exactly the same place, to give the skin a rest between applications.
When to switch to a ready-to-apply tattoo
Once you like the size and placement after trying it at home, a ready-to-apply temporary tattoo and its application instructions gives you a finished result that no longer depends on how steady your hand is with a marker. If you have a design in mind rather than one drawn by hand, simple designs such as Happy or Liniște Interioară are well suited to this next step, and the Minimalist design collection lets you compare others before choosing.


To understand how the color of a semi-permanent tattoo changes after application, a dedicated article explains how it develops, and another explains how long this type of tattoo lasts, for comparison with the short wear of a marker or paper trial. Those still deciding between several designs can find guidance in this guide to choosing a design, while those who prefer a custom design can explore the customization options currently available. Finally, for a keepsake tattoo with a similar feel but a different story, the article about Malabar tattoos explores another nostalgic form of transfer.